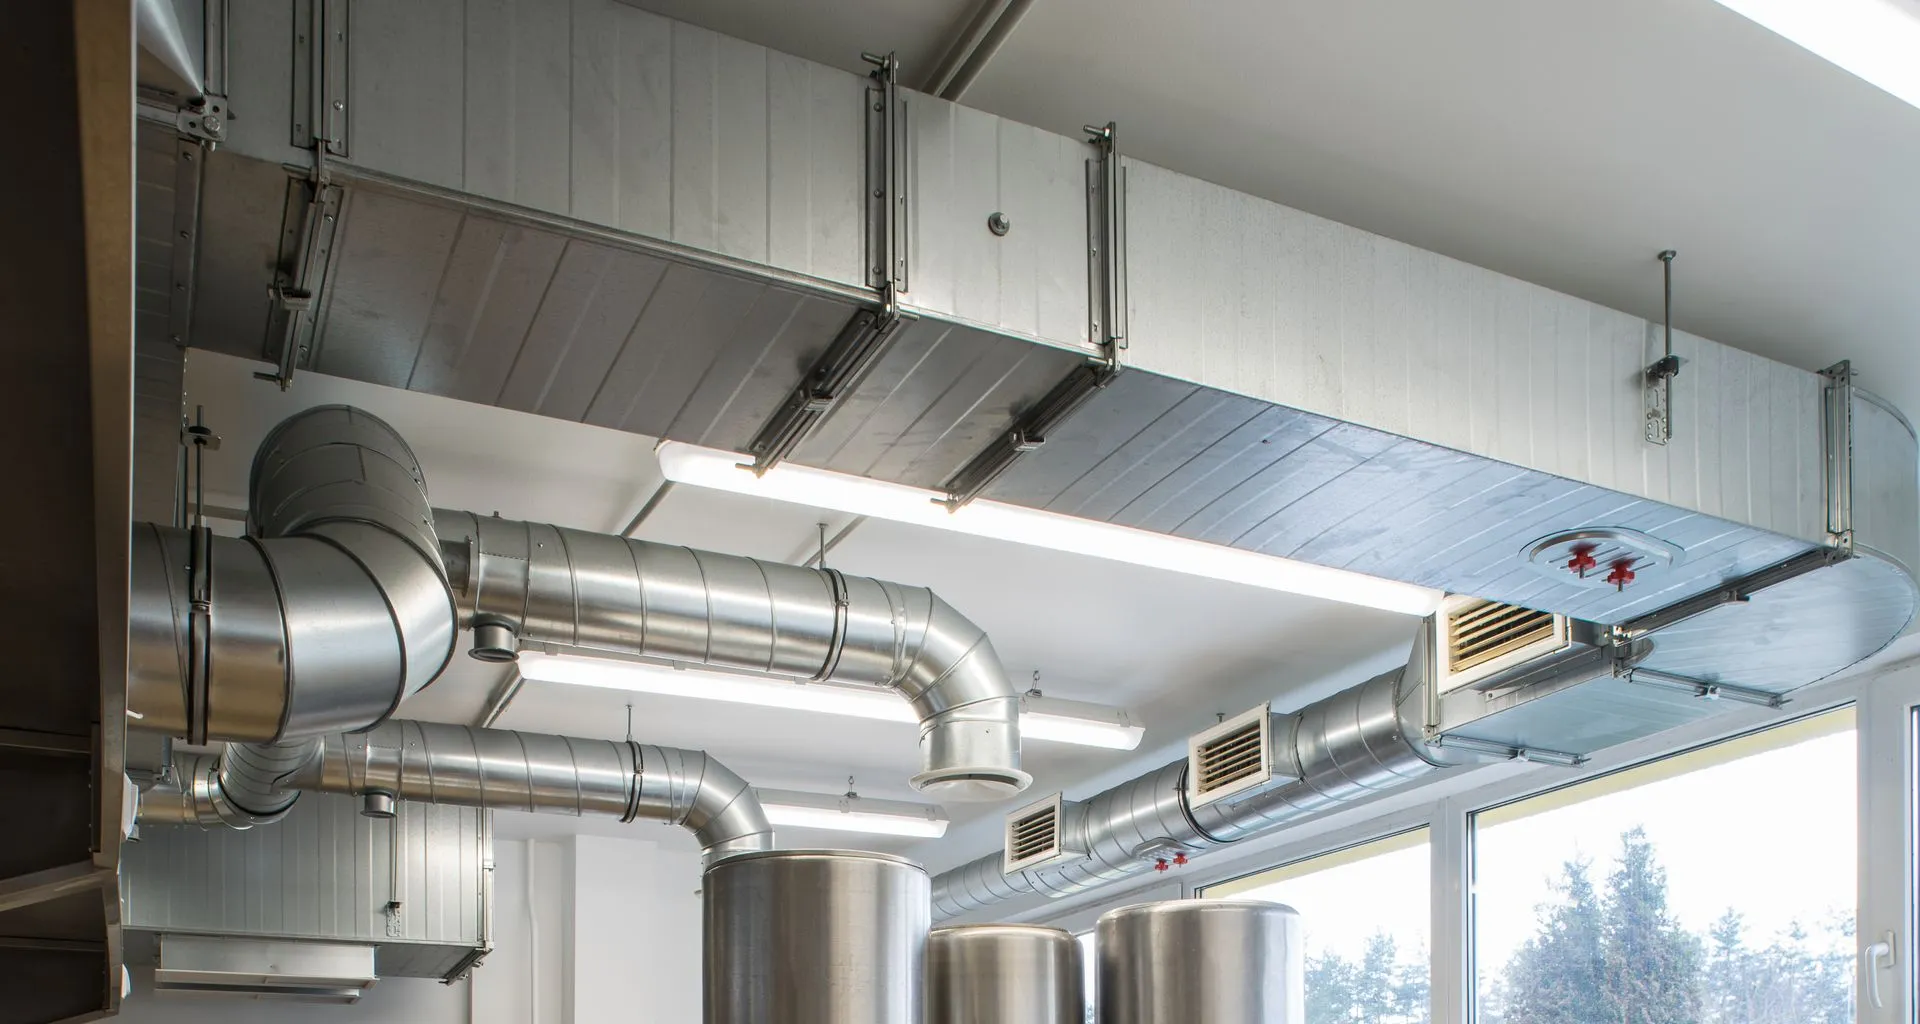
Duct installation
Lafetech Solutions is a specialised service provider focused on duct installation and repair . Established in 2016, we have garnered over eight years of experience in the HVACR (Heating, Ventilation, Air Conditioning, and Refrigeration) field, catering to the industrial, commercial, and government sector.

Lafetech Solutions offers comprehensive ductwork services, including:
- Installation and Repair: Their expert team ensures that duct systems are installed and repaired correctly, which is essential for maximising HVAC efficiency. Leaky or damaged ductwork can result in significant air loss—up to 30%—making HVAC systems less efficient and harder to maintain.
- Consultation and Assessment: They provide free consultations and detailed assessments of existing duct systems to identify issues such as improper sealing or installation1.
- Professionalism and Reliability: The technicians at Lafetech Solutions are licensed, certified, and knowledgeable, offering reliable ductwork services and quick resolutions to any concerns regarding commercial installations.
Why Choose Lafetech Solutions?
- Expertise: Their team consists of skilled professionals who are adept at repairing and installing ductwork, ensuring that clients receive high-quality service tailored to their specific HVAC needs.
- Customer Satisfaction: They prioritise customer feedback and take pride in delivering services that meet high-quality standards, making customer satisfaction a key objective.
- Comprehensive Services: Apart from duct installation, they cover all aspects of HVAC systems and regularly serve industrial and commercial clients across various sectors.
Lafetech Solutions is a specialised service provider focused on duct installation and repair in Greater Noida. Established in 2016, they have garnered over eight years of experience in the HVACR (Heating, Ventilation, Air Conditioning, and Refrigeration) field, catering to industrial, commercial, and government sectors.
