We are available 24/7 Hrs.

Chiller Installation

How Chiller Installation Works: A Step-by-Step Guide

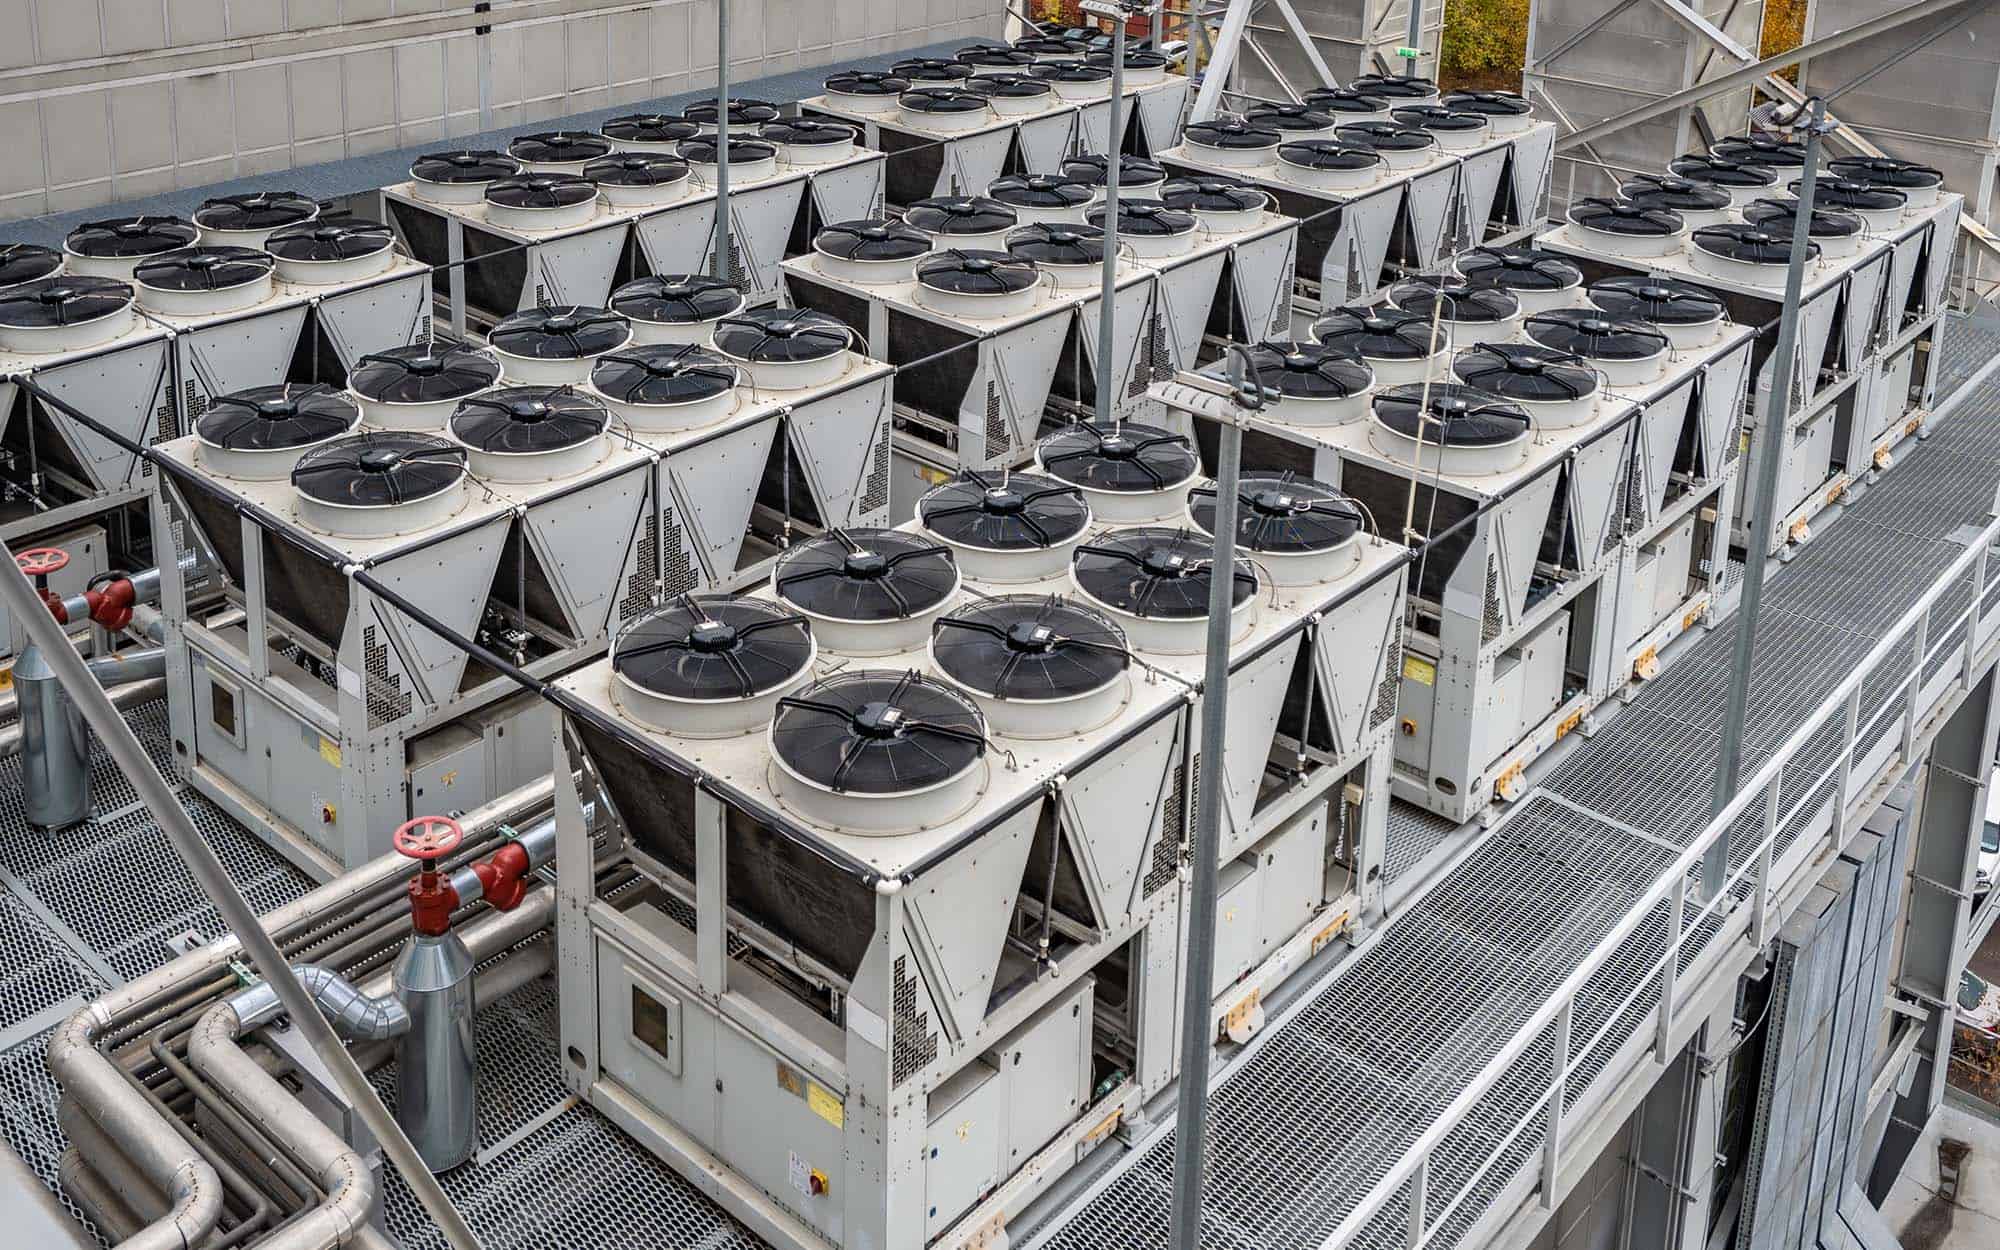
Installing a chiller is a critical process that ensures the efficient cooling of large buildings, industrial facilities, or equipment. Here’s a step-by-step guide to help you understand how chiller installation works, even if you’re not familiar with the technical details.

1. Site Preparation:

Before the chiller arrives, the installation site must be prepared. This involves ensuring that the foundation is strong enough to support the chiller and that there’s adequate space for the unit and its associated components. Electrical and plumbing connections are also prepped.

2. Positioning the Chiller:

Once the site is ready, the chiller is transported to the location. Using heavy machinery, the chiller is carefully positioned on the foundation. It must be placed accurately to ensure proper alignment with the rest of the system.

3. Connecting the Pipes:

The next step involves connecting the chiller to the building’s water supply and return lines. These pipes carry the chilled water throughout the building to provide cooling. Proper insulation of these pipes is essential to prevent energy loss.

4. Electrical Wiring:

The chiller requires electrical power to operate. Electricians connect the chiller to the main power supply, ensuring that all connections are secure and meet safety standards.

5. System Integration:

After the chiller is connected to the pipes and power, it’s integrated with the building’s HVAC (Heating, Ventilation, and Air Conditioning) system. This ensures that the chilled water produced by the chiller is distributed throughout the building.

6. Testing and Commissioning:

Finally, the entire system is tested to ensure everything is functioning correctly. Any necessary adjustments are made, and the chiller is officially commissioned for operation.

By following these steps, a chiller is installed correctly, ensuring reliable and efficient cooling for years to come.